Physical Address
304 North Cardinal St.
Dorchester Center, MA 02124
Vulnerability identification/analysis is an essential part of the penetration testing. A penetration tester needs to know the system under investigation before gaining access. If not, then penetration testing becomes a trial-and-error process.
Vulnerability is a weakness; when exploited, it might lead an attacker to access a target system. Threats are phenomena that can affect the target system adversely and can be artificial or natural (fire, flood, etc.). In the context of cyber security, a threat refers to anything that can potentially cause serious harm to the target. Threats can lead to attacks on computer systems, networks, and more. Controls are used to get rid of threats or defend against vulnerabilities. Security teams usually conduct vulnerability analysis to identify possible threats and vulnerabilities that may lead an attacker to exploit the system. After vulnerability analyses and threat identification phases, controls need to be put in place. The most critical management in an enterprise is the security policy. Security policy document defines managerial controls, and security controls are developed accordingly.
Following the definition of vulnerability identification/analysis and related terminology, we can give details about the most used tools for vulnerability analysis.
As a pentester throughout your career, you can be sure to test the following vulnerability analysis tools. We want to mention that small programs developed in Python, Ruby, etc. can meet the requirement in addition to these tools. However, the tools discussed below are enterprise-level multi-purpose vulnerability analysis tools.
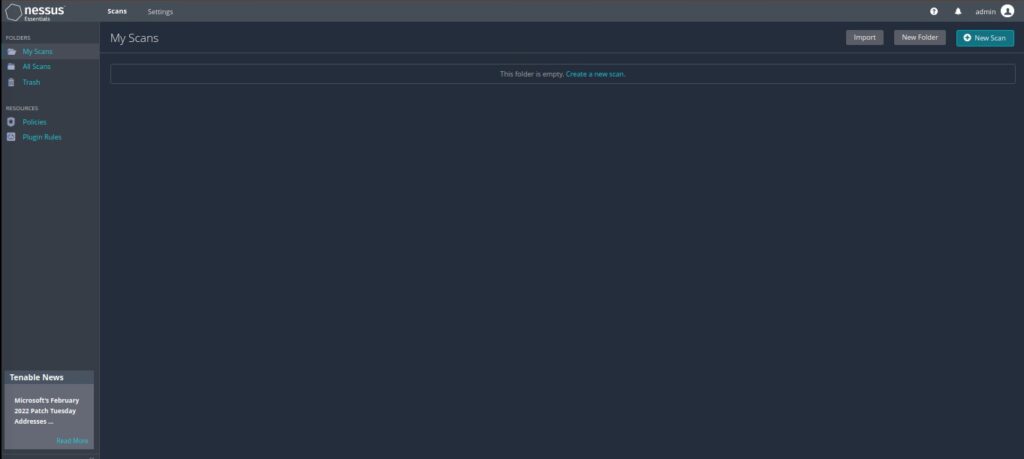
We will look at the most popular tools (Nessus and OpenVAS). At first, we will install Nessus by visiting the activation code link. By accessing the link we create an account for trying the Nessus. The trial version has limited asset scanning capability, so you need an enterprise-level license for the Nessus in production environments. In our demonstration, we will install Nessus to Kali Linux. After creating an account and getting an activation code, you can download the Nessus from here. After getting the Activation Code and Debian package, follow the bullets below:
root@ech:~/Downloads# /bin/systemctl start nessusd.service
root@ech:~/Downloads# /bin/systemctl status nessusd.service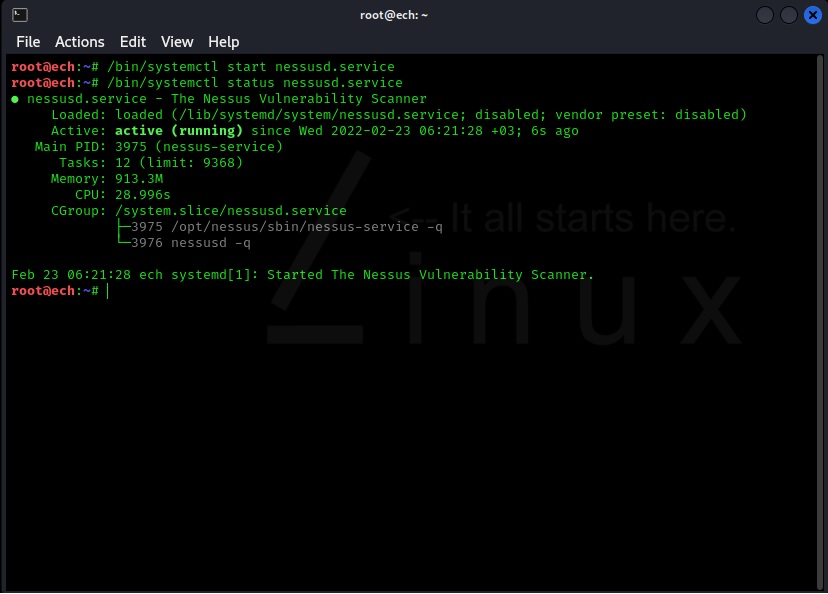
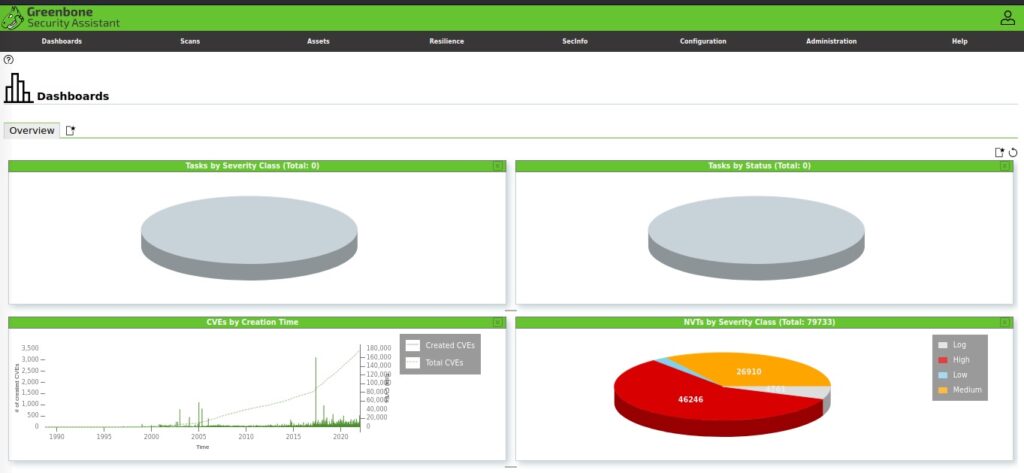
OpenVas is an open vulnerability scanner (https://www.openvas.org/). OpenVas uses NVT database. The installation step is very straightforward in Linux. We will explain how to install OpenVas on Kali Linux.
Steps:
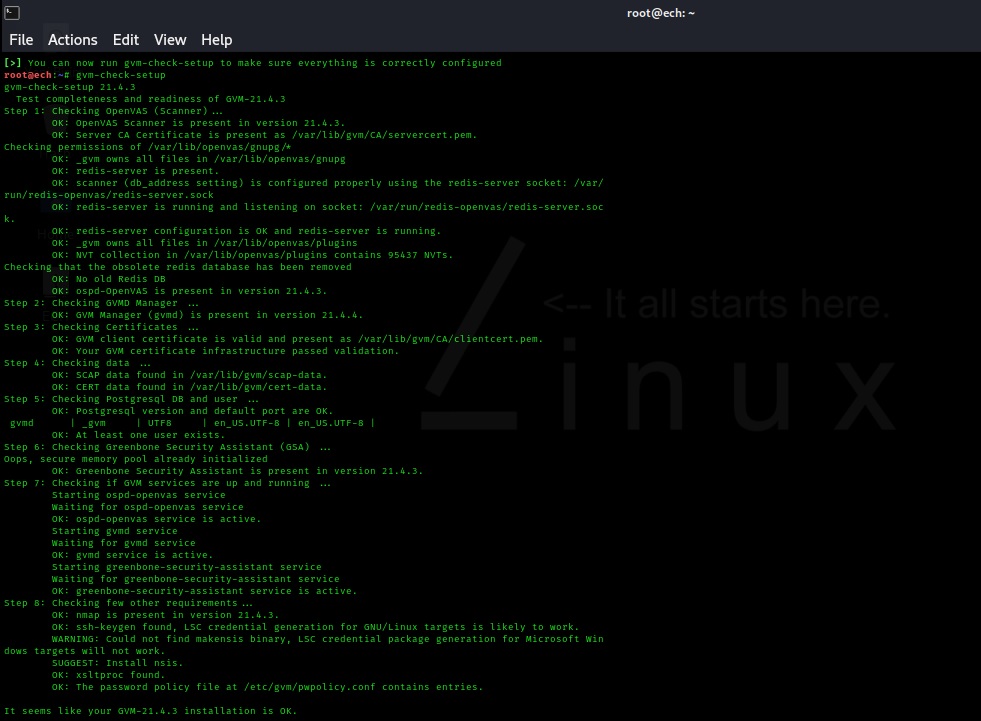
That is it for installation. At the next step, we need to go to https://localhost:9392 address to access the OpenVas and check the installation.
Thank you for reading this post. I hope it helps you start your vulnerability scanning and analysis.
Emre Caglar Hosgor